The steps to implement the B4XDialog view are similar to many other B4X components. You must enable it by selecting its library, reference it with a variable, initialize it, then use it in program code.
These steps are described below.
Select the Library
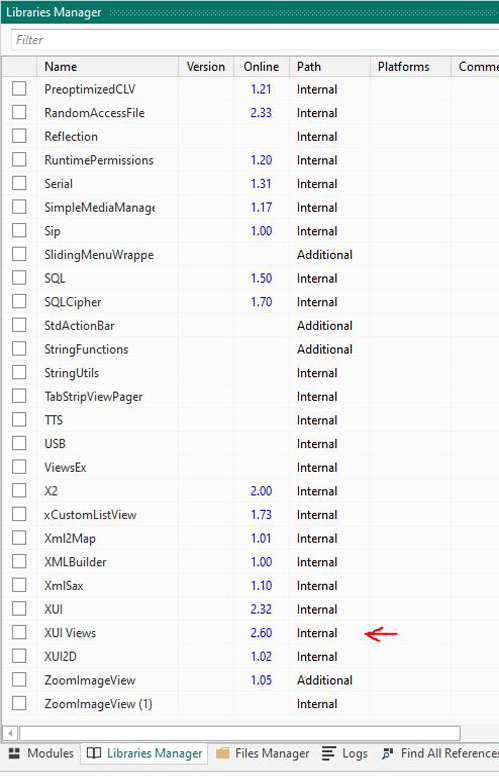
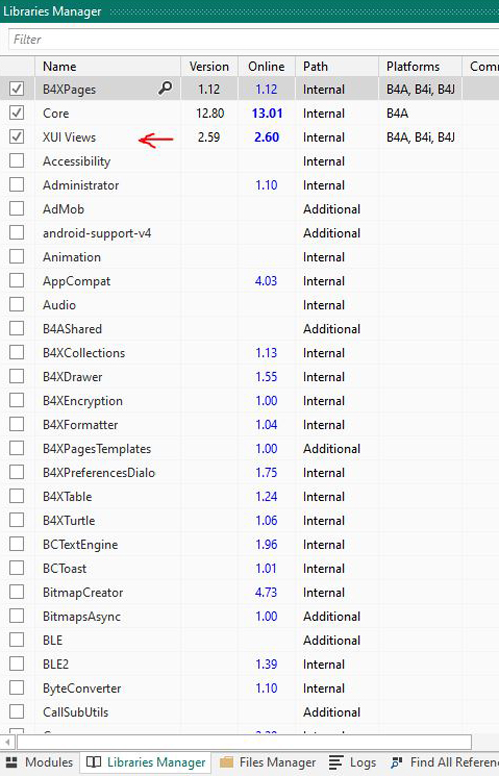
In order to make the B4XDialog view available, you must enable its library. To do so, click the Libraries Manager tab near the bottom right pane in the IDE. The libraries currently in use are checked.
Check the box next to XUI Views. This entry now moves up to the list of libraries in use, and you can now reference the B4XDialog view in your code.
Declare a Private Variable
To use the B4XDialog class you must declare a variable referencing it. Do this in Sub Class_Globals of page B4XMainPage. The relevant line below is Private DialogOK As B4XDialog. You can choose whatever variable name you wish. I have chosen DialogOK.
CODE
Sub Class_Globals
    Private Root As B4XView
    Private xui As XUI
    Private Label1 As B4XView
    Private DialogOK As B4XDialog
 End Sub
Initialize This
To Initialize, or bring to life, the B4XDialog view that you declared earlier, add the line:
DialogOK.Initialize(Root) to Sub B4XPage_Created as shown below.
For now we will use the default values for the dialog box properties.
CODE
Private Sub B4XPage_Created (Root1 As B4XView)
	Root = Root1
	Root.LoadLayout("MainPage")
	B4XPages.SetTitle(Me,"Hello World")
	Label1.Color = Colors.DarkGray
	Label1.TextColor = Colors.White

	DialogOK.Initialize(Root)
 End Sub
Program the Button
The variable DialogOK can now be used throughout the program to show the dialog box. To test it we will use the Button1 Click event.
In Sub Button1_Click comment out any active code by adding a leading apostrophe, and add this line:
DialogOK.Show("This is DialogOK text.","OK","","")
Four parameters are required: Text, Yes, No, and Cancel. The first parameter is the text that displays inside the dialog box. The next parameters specify the text on the respective dialog buttons.
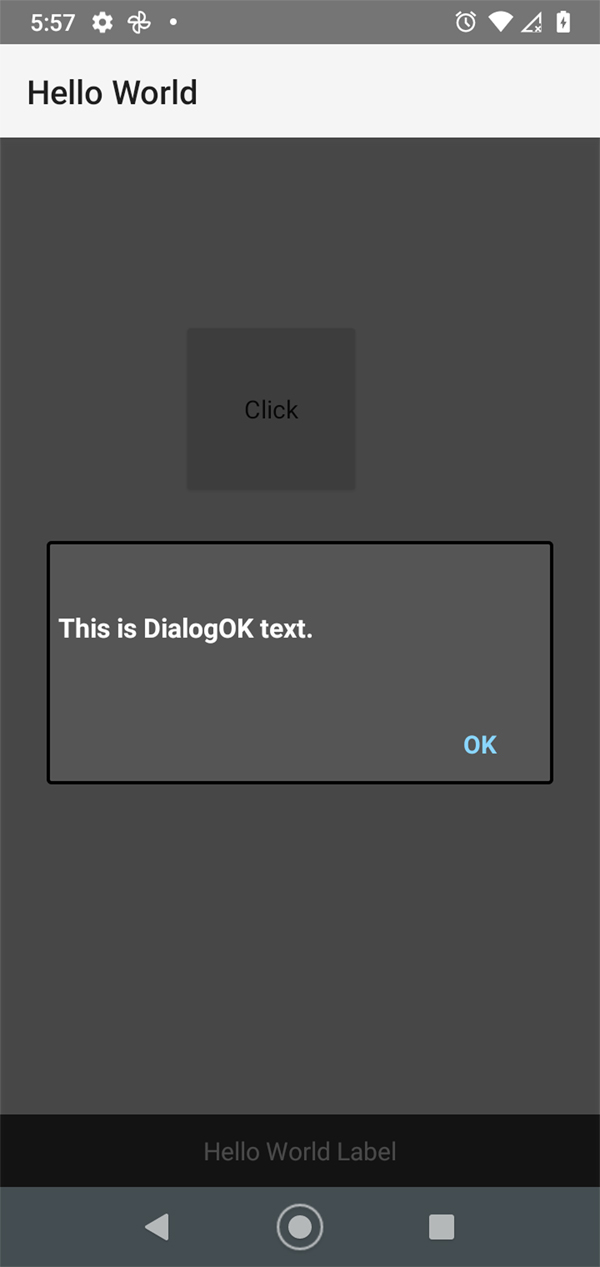
Leaving any of the parameters blank causes that button to not be displayed in the dialog box. When the user clicks on Button1, the dialog box will be displayed with the text shown, and an OK button labeled OK.
See the code below.
CODE
Private Sub Button1_Click
    'xui.MsgboxAsync("Hello world!", "B4X")
    DialogOK.Show("This is DialogOK text.","OK","","")
End Sub
Save and Compile
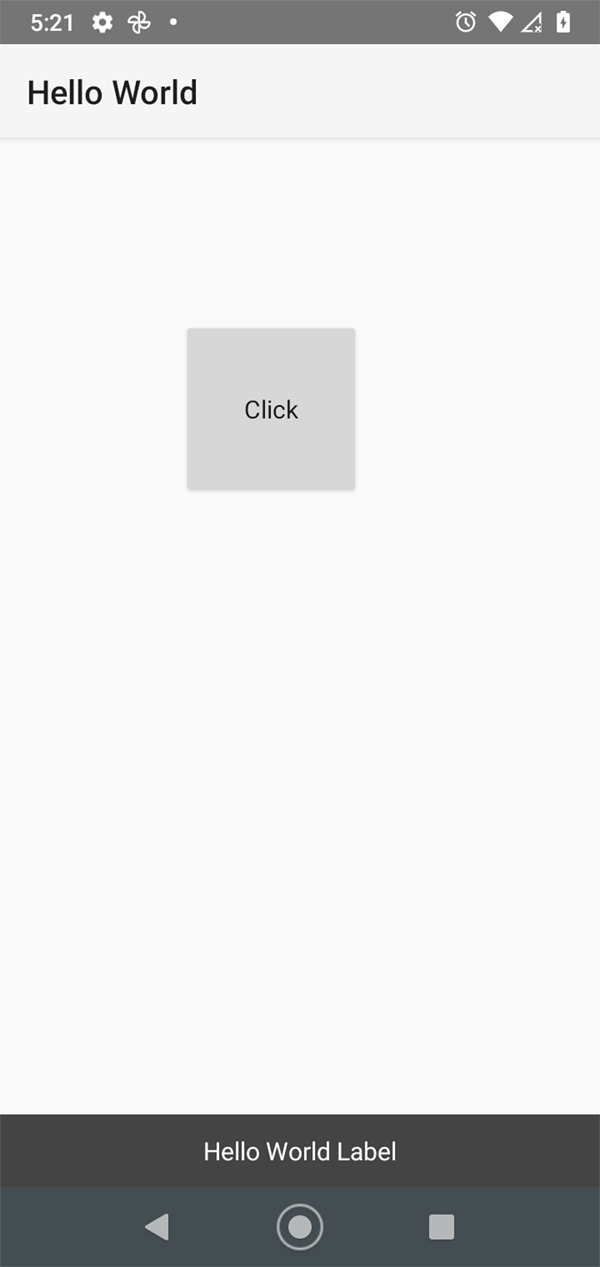
Save the app, and compile & run the project to your Android device or emulator.
When the app runs it should look like the first image below, and clicking the button should produce the second result.
Enhance
This is a perfectly functional dialog box, but we have the capability to implement some fun customization by using some of the many properties available to the B4XDialog view.
As a developer you make many decisions concerning function and style. In my case I have opted for a version of a dialog box that is fairly simple, yet elegant, along with functionality that incorporates both reusability and flexibility.
Basically, it's a box at the top of the window.
To begin further enhancement, add the code beneath the "DialogOK.Initialize(Root)" line in Private Sub B4XPage_Created. I have used a combination of color definitions.
CODE
Private Sub B4XPage_Created (Root1 As B4XView)

    Root = Root1
    Root.LoadLayout("MainPage")
    B4XPages.SetTitle(Me,"Hello World")
    Label1.Color = Colors.DarkGray
    Label1.TextColor = Colors.White

    DialogOK.Initialize(Root)

    '*************************************
    'DialogOK settings.
    '*************************************

    DialogOK.PutAtTop = True
    DialogOK.BlurBackground = False
    DialogOK.BackgroundColor = Colors.White
    DialogOK.TitleBarColor = Colors.RGB(207,210,207)
    DialogOK.TitleBarTextColor = Colors.DarkGray
    DialogOK.BodyTextColor = Colors.RGB(59,59,59)
    DialogOK.ButtonsColor = Colors.Transparent
    DialogOK.ButtonsTextColor = Colors.RGB(46,139,87)

End Sub
TIP
For even more centralization, use public global variables to assign values for various properties, such as color. Changing the property throughout the app can then be accomplished from one location, such as B4XMainPage.
SAVE AGAIN
Save the app, and compile & run the project to your Android device or emulator. Note how the properties entered in the previous step change the appearance of the dialog box regarding position and color scheme..
ShowDialogOK
Next, create a new Private Sub called ShowDialogOK as shown below. Note the messagepanel usage. Once the dialog's Show method is invoked, we can set various properties of the text area.
In this case we use SetTextAlignment to set both the vertical and horizontal alignment of the message text within the dialog box.
The code is wrapped in a Try-Catch construct to deal with any potential errors. In the event that something goes unexpectedly, horribly wrong, we simply return xui.DialogResponse_Positive, mimicing a click of the OK button.
CODE
Private Sub ShowDialogOK(TitleIn As String,MessageIn As String) As ResumableSub
Try
    DialogOK.Title = TitleIn
    Dim RS As ResumableSub = DialogOK.Show(MessageIn,"OK","","")
    '**********************************************************
    'Some settings are accessed after DialogOK.show is called.
    '**********************************************************
    Dim messagepanel As B4XView = DialogOK.Base.GetView(DialogOK.Base.NumberOfViews-1)
    messagepanel.GetView(0).SetTextAlignment("CENTER","CENTER")
    Wait For(RS) Complete(Resp As Int)
    Return Resp
Catch
    Return xui.DialogResponse_Positive
End Try
End Sub
Wait for It
To use the sub created in the previous step, modify the Button1_Click event as shown below, commenting out the previous entry. Note that it no longer shows the B4XDialog view directly, but calls the ShowDialogOK sub instead.
The Wait For usage causes the program to wait for a response from ShowDialogOK, in this case the result of clicking on the only available option, the OK button. The value returned will be an Integer, but here is no need to process this return value, as the dialog box will simply close after the OK button is clicked.
Perhaps most importantly, the dialog is now called using only one line of code.
CODE
Private Sub Button1_Click
    Wait For (ShowDialogOK("ALERT","This is DialogOK text.")) Complete (Result As Int)
End Sub
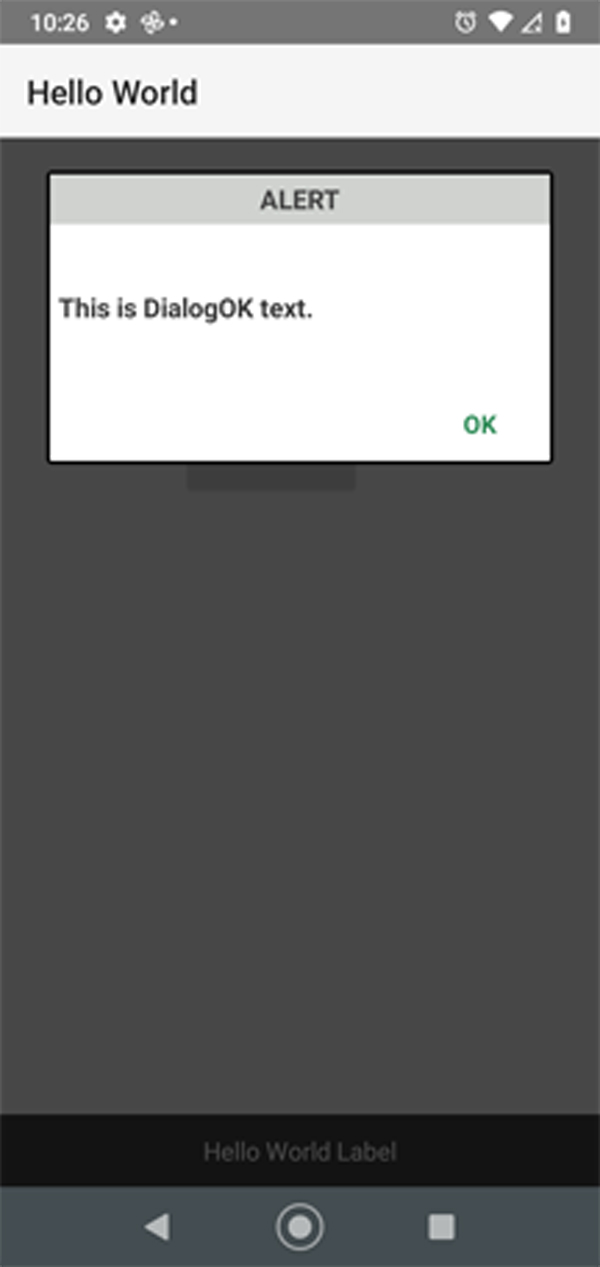
B4XDialog Box in Action
The OK dialog box now displays near the top of the screen with both the title and message text centered, using the color scheme defined. You can set both the title and the message text when you call the dialog.
The final result is shown below.

Conclusion
Each programmer will implement the vision for their app as they see fit, and the dialog box is crucial to this effort.
The B4XDialog view and the solution presented above is especially effective in this regard, as it embodies consistency, ease of use, and flexibility, with numerous properties available for customization.
For even greater centralization of maintenance, use global variables to set properties, allowing changes to propagate throughout the app by changing values in one place.
All thanks to the B4XDialog.
Thank you for reading this tech article. Please share with others, and best wishes on your app adventure!
About the Author

William R. Vitanyi is owner of Bayla Publishing. The books, apps, and articles on this site are his own, and Bayla Publishing, and this site, were created for their publication.
Why books and apps, and articles? Although it is difficult to say how ideas are formed, in this case William derives these interests quite naturally. As a computer programmer for 30 years, an avid reader of books for 60, and a user of smart phones, the progression was probably foreseeable.
Check out our Home Page for the books, apps and articles of William R. Vitanyi, and thank you for your visit.
Connect with Bayla Publishing
Connect with William R. Vitanyi
Vitanyi
Follow @vitanyi
To contact the author send email to: Contact William R. Vitanyi
We are a participant in the Amazon Services LLC Associates Program, an affiliate advertising program designed to provide a means for us to earn fees by linking to Amazon.com and affiliated sites.

© 2026 Bayla Publishing LLC